Gelatin Printmaking
Objective
- Students will, considering their issue and research collected, use various manmade and natural material to begin work on their informational art pieces.
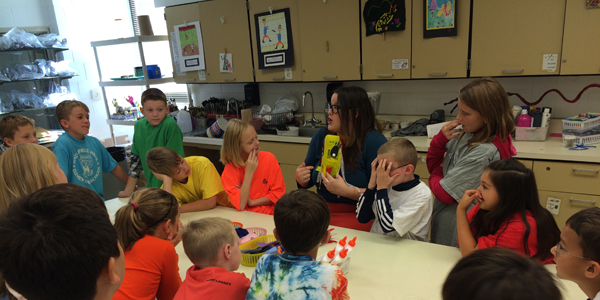
Hook
- Students will watch a film on making gelatin monoprints.
Instructional Input
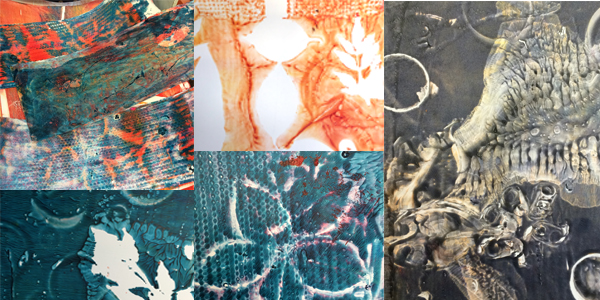
- Artist- Tamar EntigenTamar Entigen is a contemporary artist who uses a gelatin print making technique using found objects and plant materials creating tension between manufactured and organic forms. Gelatin Plate is a non-toxic, low tech and inexpensive printmaking technique, which requires no press! Using this technique she creates MONOPRINTS (one of a kind prints) with acrylic paint. Paint is applied with a BRAYER (roller) to a plate or pad of gelatin. Images can be painted directly on the plate or, using SUBTRACTIVE techniques, be achieved by touching the inked plate with various textural objects. The latter method can achieve almost photographic clarity and is especially receptive to plant material. Gelatin Plate printmaking is by nature, a very spontaneous and accessible medium.
Guided Practice
Gelatin Print making Demo- Familiarize yourself with your tools and what they do.
- Set up materials in an organized way. Brayer, plate and paints on one-side and texture/form materials on the other.
- Make a plan- Decide what materials you’re going to use before spreading the paint out. Acrylic paints dry pretty quickly so you’ll need to plan ahead in order to work quickly. (* Note- when planning you don’t have to use everything at once. Layering is the name of the game. The paints dry quickly so you can do another layer almost instantaneously)
- Add paint to plexi-glass plate and roll brayer through creating an even layer of paint on the roller.
- Roll brayer on gelatin pad creating a thin even layer of paint on the pad.
- Lay down materials in a composition you’ve planned.
- Place paper gently down on top of the pad. Smooth out paper with your hands making sure all of it come into contact with the inked pad. Press firmly but gently. (*Note- Gelatin pads are somewhat delicate. They will break eventually. The gentler you are the longer they’ll last.)
- Pull up paper delicately starting from one corner.
- Plate paper to the side to dry. If there is any paint left on the pad you may pull another print OR remove the materials from the pad and pull a print from the remaining paint. This will give you a positive to the negative first print.
- You can also add textured stamped layers using recyclables. Find a shape you’d like to add from the pile of recyclables.
- Dip side in paint from plexi-glass plate.
- Press firmly on to paper and repeat either re inking object or until exhausted from first inking.
- After stamping is dry you may add more layers of gelatin print if you’d like.
Materials
- (7) Gelatin Pads in baking trays
- (7+) Brayers
- Acrylic or Tempara Paint (red/yellow/blue)
- Plexiglass plates (for rolling paint)
- (28- 4 per group) 11x14 Paper
- Plant materials
- Recyclables