CHE L110 - Chemistry and Society Laboratory
INTRODUCTION
When a chemical reaction takes place, the amount of product that can be produced is determined by the amounts of each reactant used, the molar mass of reactants and products, and the balanced chemical equation.
In this experiment you are going to prepare table salt (NaCl, sodium chloride) from baking soda (NaHCO3, sodium bicarbonate or sodium hydrogen carbonate).
![]()
You might recognize this reaction as the same one that you used to prepare carbon
dioxide gas in Experiment #2. The balanced chemical equation tells you that for every one
NaHCO3 that reacts,
one NaCl is produced.
The molar mass (MM) of a compound is equal to the sum of the atomic weights of all of the atoms in the compound. Atomic weights are found below the element symbol on the periodic table.

You are going to perform a quantitative experiment to determine the mass of NaCl that can be produced (the actual yield) from a specific amount of NaHCO3. In addition, you will calculate the theoretical amount (also called the theoretical yield) of NaCl that can be produced and compare the two by calculating a percent yield. The theoretical amount of NaCl that can be produced from a weighed amount of NaHCO3 and excess HCl is given by:

The percent yield is given by:

USE OF LABORATORY BALANCE
Instructions on the proper use of the laboratory balance are posted at each balance station. Every weighing must be carefully done in order to obtain good results. All masses should be reported to TWO decimal places (e.g. 7.32 g or 16.40 g).
EXPERIMENTAL PROCEDURE
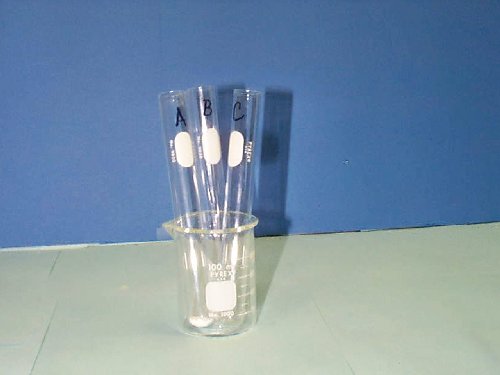
1. You will need three large test tubes from your kit. For good results, these test tubes must be clean and completely dry before you start. With a marker pen, label each test tube near the top 1, 2, and 3, respectively.
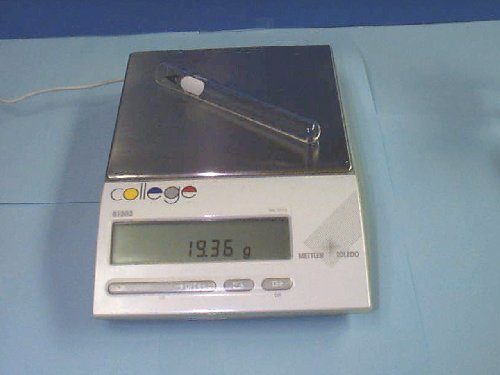
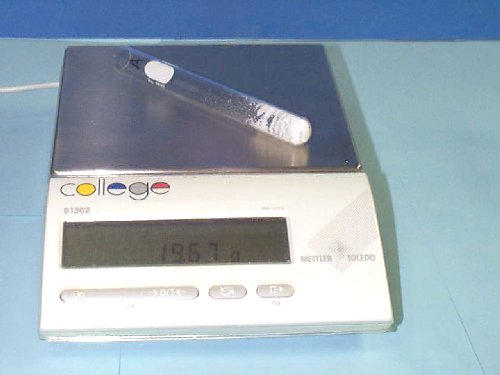
2. Lay each empty test tube flat on the balance pan. Weigh each test tube to the nearest hundredth of a gram (0.01 g). Record the mass of each test tube on the report sheet data table.
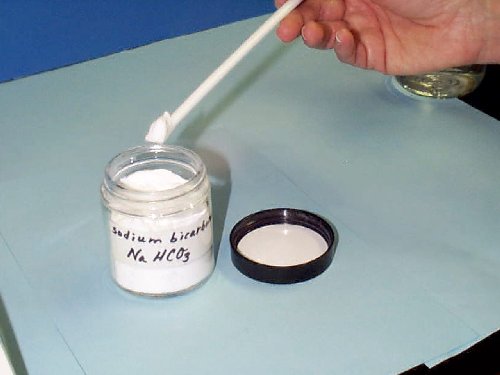
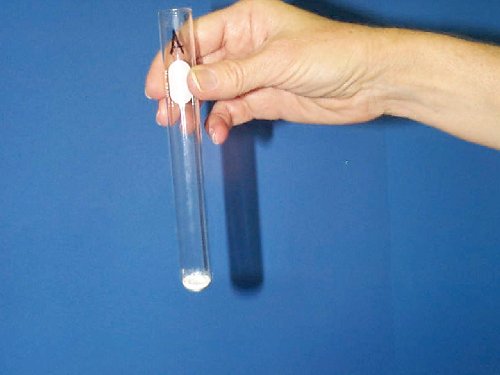
3. Using a scoop or spatula, add small portions of NaHCO3 (sodium bicarbonate) to each test tube so that only the rounded bottom of the test tube is filled.
4. Reweigh each test tube to the nearest hundredth of a gram (0.01 g). The mass of NaHCO3 in each test tube should be ~ 0.5 ± 0.1 g. The mass of NaHCO3 does not have to be the same in each test tube. Record the mass (test tube + NaHCO3) on the report sheet data table.
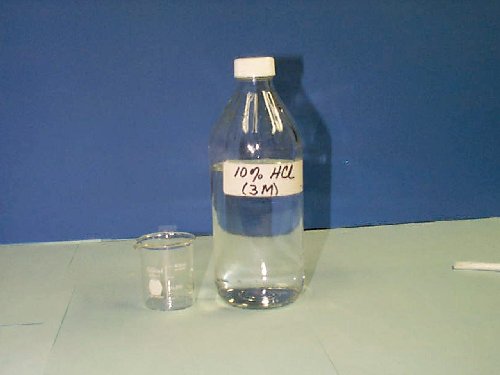
5. Using a plastic pipet, add 10% hydrochloric acid (HCl) solution slowly to test tube 1. Allow the HCl solution to run down the inside wall of the test tube. Gently agitate the test tube after each addition of HCl. Continue adding HCl slowly until all of the solid has dissolved. Once all of the solid has dissolved, continue to add HCl but now do it dropwise (agitating the test tube after each drop). When a drop of HCl produces no additional CO2 bubbles, the reaction is complete and no more HCl should be added. Set the test tube aside until you are ready to heat it.
6. Repeat the procedure in step 5 with test tubes 2 and 3.
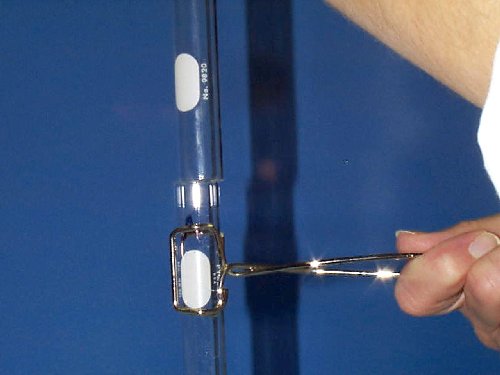
7. Set up a Bunsen burner to evaporate all of the water from each test tube. Attach a test tube clamp near the top of the first test tube. Holding the test tube by the clamp, move the test tube slowly back and forth through the flame. Always hold the test tube at an angle. Do not point it at anyone or at yourself. (If you hold the test tube straight up and down, the liquid will quickly overheat and shoot out of the test tube.) Pass the test tube through the flame until all of the water has evaporated. As you near the end, the solution will start to look cloudy and you will see drops of water high up on the inside of the test tube. This water must also be evaporated. Continue to move the entire test tube slowly through the flame until only a white solid remains.
Note: If any of the liquid splashes out during heating, stop and discard the contents of that test tube. Fill another clean and dry test tube with NaHCO3 and begin again.
8. To test that all of the water has been evaporated, remove test tube 1 from the flame and hold an inverted, clean dry test tube directly over its mouth. The appearance of condensation in the dry test tube is a sign that there is still some water left in your sample test tube. Heat your sample again for a few minutes. Test it again for condensation with the dry inverted test tube. Repeat until no water vapor appears. Then stand test tube 1 up in a large beaker to cool for at least 5 minutes.
9. Repeat steps 7 and 8 with test tubes 2 and 3.
10. Reweigh each cool test tube and contents to the nearest hundredth of a gram (0.01 g). Record the mass (test tube + NaCl) on the report sheet data table.
11. After you have completed the experiment, rinse each test tube with tap water and pour the contents down the drain. Make sure each test tube is clean and dry before you put it away.