|
|
|
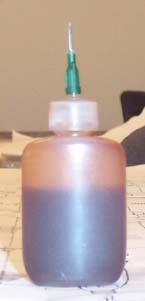
I am taking Crafts 363, Surface Design. In this class we are taught how to silk paint, and different ways to create surface designs. I will go through the process of making a silk painting on this page. Necessaries: 1) Piece of silk. We use handmade silk scarves. 2) Canvas stretcher. (Use a size that fits your piece of silk). 3) Tacks. (Flat-topped thumbtacks). 4) Resist. 5) Dyes. 6) Chemical Water. 7) Soda Ash. 8) Brushes. 9) Design on paper that is actual size the completed silk will be. 10) 7B Drawing pencil.
|
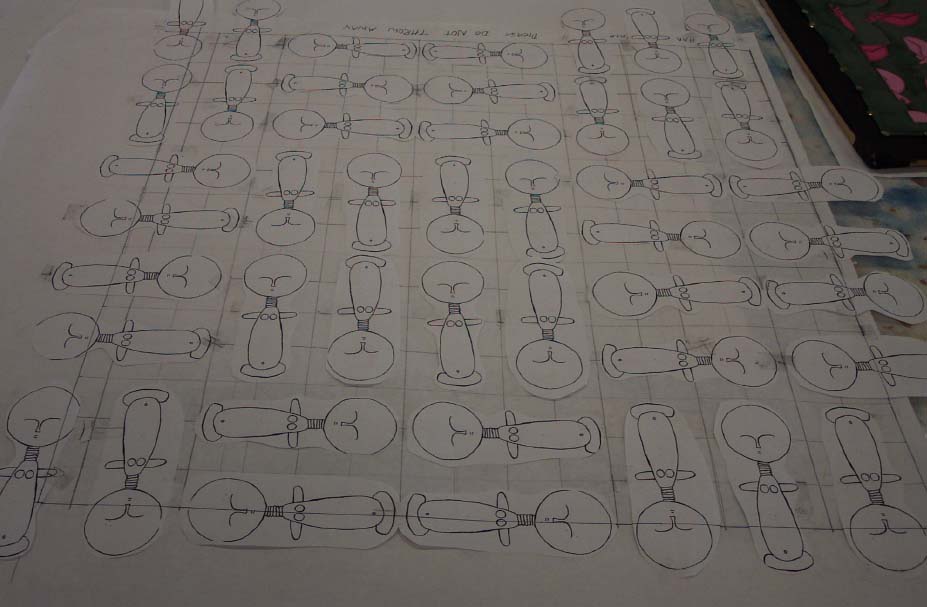
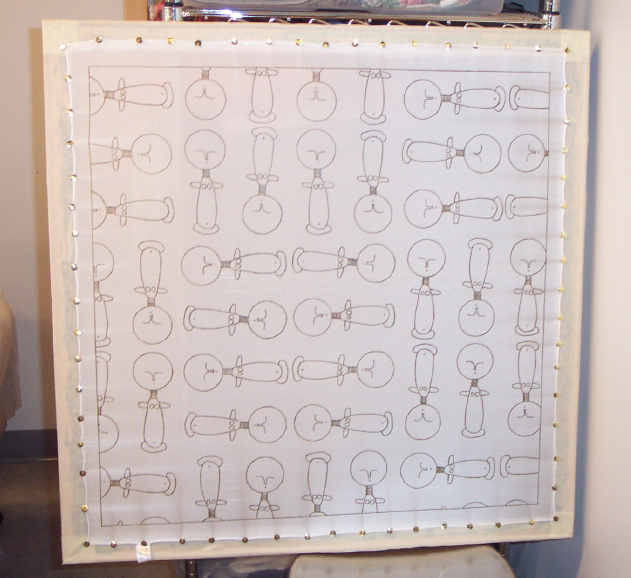
Next you stretch your silk across your canvas stretcher. Use flat-topped thumbtacks for this. Start with one tack at each corner. Then tack the center of each side, putting one tack in, then putting the tack directly across from it in. Then put a tack in the middle of each of those 3 tacks on each side. Still working on putting on one across from the other. The silk should begin to tighten and be sort of drumlike. The wrinkles or creases in the silk will disappear. Continue putting in the tacks until they are about an inch apart. (It is normal for your thumb to hurt.) Once your silk is stretched you are ready to transfer your drawing to the silk. Make sure you are working on a clean surface. Lay your drawing down flat on the table. You might want to tape it down to keep it from sliding around.Turn your canvas stretcher over so that the silk is face down on the drawing. You should be able to see your drawing through your silk. Use your 7B pencil to trace your drawing onto the silk. The drawing should be on the back of where you will be applying paint. So make your lines dark enough and thick enough to be seen. It is very important to use a 7B pencil.
|
 Silk Painting Process